Getting products into Australia can unlock huge potential for startups. But doing it yourself, without expertise, can result in time delays, additional expense, or compliance issues. This blog outlines the actual step-by-step process to assist new importers with getting the right start.
Sharp Blue Pty Ltd has assisted hundreds of companies—small startups to multi- national corporations—with getting products into Australia. The blog provides a complete and application-oriented guide based on real importing practices.
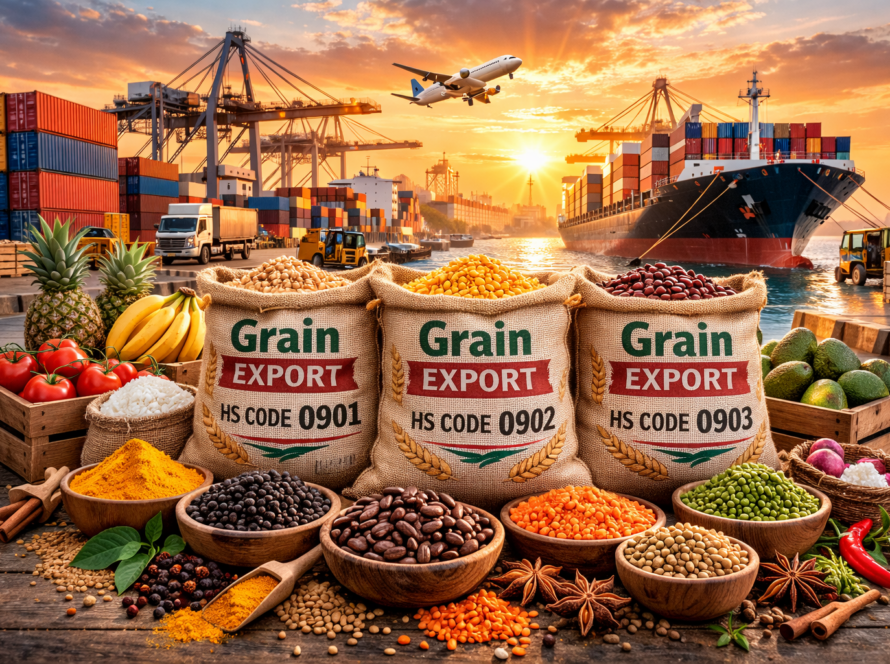
Step 1. Familiarize Yourself with the Product You’re Importing
Before anything, study thoroughly and intently what you’re importing.
You should be asking yourself:
- What is the product precisely?
Is it electronics, textiles, wood products, foodstuffs, cosmetics, chemicals, or others? - What is it made of?
Materials matter because they can trigger biosecurity or safety measures. - What is it used for?
For example, bringing in a kitchen knife for company cooking is not the same as importing one that has been made to be a weapon. - What is it packaged in?
Wood packaging needs to be to Australian standards, or your entire shipment may be rejected.
Next, find your product’s HS (Harmonized System) Code. It is an international product classification code that Australian Customs uses to calculate duty and GST.
Use the Australian Tariff Classification Tool to look up your product.
Why it matters: If you incorrectly classify your product, customs can overcharge you, hold up your shipment, or fine you. In serious cases, goods may be seized—causing financial loss and legal issues. Repeated errors can also damage your credibility and lead to stricter inspections in the future.
Real Tip: If you’re unsure, a licensed customs broker can ascertain the correct HS code based on the technical description of the product and its purpose.
Step 2. Check Whether the Product is Allowed in Australia
There are extremely stringent rules on what can be imported in Australia to safeguard its environment, public health, and industries. So, your second step is to check whether your product is allowed legally, and under what conditions.
You need to check:
- Is the product prohibited or restricted?
- Does the product require an import permit?
- Is it biosecurity cleared?
- Are labelling or safety standards applicable?
Example 1: If you are importing food, supplements, or drinks, you may be asked to adhere to Food Standards Australia New Zealand (FSANZ) requirements and clear them via the Department of Agriculture.
Example 2: If your product contains wood (furniture, packaging materials, tools), you need to comply with ISPM 15 treatment protocols in a bid to keep pests out of Australia.
Search in BICON – Biosecurity Import Conditions to locate your product and look at the exact import requirements.
Want to dive deeper? Read our blog: “Importing Restrictions in Australia: A Preview ”
Step 3: Register Your Business and Get an ABN
Your business must be registered with the Australian government so that you can legally import into Australia.
Here’s what you have to do:
- Apply for an Australian Business Number (ABN): Register your business on the Australian Business Register. It is free and only takes a few minutes.
- Register for GST (Goods and Services Tax): If your expected annual turnover is likely be over AUD 75,000, you need to register for GST. GST is charged while importing.
Organize your business records: Your ABN will be associated with all imports, and you are required to keep a record of all import transactions for at least 5 years.
Tip: You do not need an import license for most products, but you must meet with all regulations related to the specific type of product you’re bringing in.
Step 4: Find a credible Overseas Supplier
Your business established, it is now time to find the individual who is going to supply your products.
Work to be done:
- Find and approach prospective suppliers online through B2B websites like Alibaba, Made-in China or overseas trade exhibitions.
- Ask for business registration certificates or company license to confirm authenticity.
- Make a sample order for goods before making a bulk order to try out quality and specifications.
- Come to terms on the basics in writing—price, quantity, packaging, timing, requirements for quality, and payment terms.
- Don’t even hesitate to specify you what the Incoterms are: Incoterms are global rules which determine the buyer and seller roles in a shipment.
For example:
- FOB (Free on Board) – You pay for shipping from the port of departure.
- CIF (Cost, Insurance, Freight) – Exporter pays for transportation to the port of destination, but not local delivery or customs.
Why it matters: Incoterms dictate who pays for costs, risks, and insurance. Using the wrong one can cause confusion and delay.
Step 5: Use a Freight Forwarder
A freight forwarder is shipping specialist or company that arranges your international delivery from the supplier’s warehouse or factory to your warehouse or doorstep.
A good freight forwarder:
- Picks up at supplier’s warehouse or factory
- Export clearance in origin country
- International transport (by air or by sea)
- Import customs clearance in Australia
- Door to door delivery
Sharp Blue Pty Ltd provide a complete import and export solution. As an initial importer, we arrange everything, so you won’t need to hassle with forms, bookings, or customs again.
You must choose:
Sea Freight – Ideal for bulky or non-urgent consignment. Cost-effective but 2–6 weeks depending on the journey.
Air Freight – Rapid and suitable for small, time-sensitive or high-value consignments. More expensive, usually 2–7 days.
Step 6: Tracking the Shipment and Obtaining Documents
Once the products leave the warehouse of the supplier, the freight forwarder will secure space with a shipping line or airline. They will, in addition, prepare the shipping documents needed, including:
- Bill of Lading (Maritime Transport) or Air Waybill (Air Freight): Transport contract and proof of shipment.
- Commercial Invoice: Describes transaction, prices, buyer/seller info
- Packing Declaration: Confirms if wood packaging/dunnage is used and whether it’s treated. Required for biosecurity clearance
- Packing List: Details contents, weight, volume, package type
- Certificate of Origin: Required for duty benefits under FTAs
- Import Permits (if required): If product is restricted (check BICON)
- Fumigation Certificate: For wood or plant-based products
Make sure that you obtain copies of all documentation. These will be needed for Australian customs clearance.
Tip: Digitally store all documents for future audits and GST claims.
Tracking: Your freight forwarder will have shipment tracking and will notify you of the probable date of arrival.
Step 7: Understand All the Costs Involved
To see if your import business will be profitable, you need to know your Total Landed Cost. This is your real cost of your product once it has arrived and cleared in Australia.
It includes:
- Product cost
- International shipping
- Insurance
- Import duty (usually 5%, depending on HS code)
- GST (10%)
- Terminal handling and port fees
- Customs broker/freight forwarder service fees
- Domestic delivery to your address
Important: GST is not just 10% of product cost. It’s 10% of the sum of:
- Product cost
- Freight
- Insurance
- Duty
Knowing your total cost helps you set pricing and calculate profit margins correctly.
Step 8: Clear Customs and Biosecurity
After your shipment is in Australia, it might not be released until it has cleared customs and biosecurity inspection.
Your customs broker or freight forwarder will handle:
Customs Declaration:
- Filing all documentation with the Australian Border Force (ABF)
- Calculating and paying duty and GST
- Proper classification and valuation
Biosecurity Inspection:
- If your goods are on the DAFF (Department of Agriculture, Fisheries and Forestry) inspection list (such as wood products, food, live plants), they will be inspected, sampled, or treated.
- If the packaging is non-compliant, it can be asked to be fumigated, re-packed, or even destroyed.
The time for this process may take hours to a few days depending on the product and port congestion.
Step 9: Get Your Goods and Check Everything
After clearing, your goods are either:
- Collected from a bonded warehouse
- Dropped off directly at your doorstep by a local transporter
On receipt:
- Check for damage or loss
- Compare quantities to packing list and invoice
- Take pictures of items for records
- Inform of any damage immediately
You are now officially prepared to distribute or sell your imported goods in Australia!
Step 10: Keep All Records and Stay Compliant
Record-keeping isn’t a choice—it’s the law.
You need to retain all importing documents for a minimum of five years, which include:
- Commercial invoices
- Packing lists
- Customs declarations
- Bills of lading or airway bills
- Certificates
- Permits
- Proof of payment of duty and GST
Why it matters: Your records can be audited by Customs or Australian Taxation Office (ATO). Getting everything right avoids fines or penalties.
Final Words: Make Your First Import a Success
Diving into global trade for the first time is never a small step. It’s a crossroads of ambition, investment, and trust. For most first-time companies in Australia, importing a product means stepping into a totally unfamiliar landscape—one characterized by regulations, processes, paperwork, and risks they’ve not had to deal with before.
But importing into Australia is not just about logistics. It’s a structural and standards-based system. Once you discover how all the components work together, you begin to see patterns, seize opportunities, and avoid costly errors. Every successful importer began with a first shipment. What sets the successful apart isn’t an error-free experience—it’s that they learn, adapt, and ask the right questions.